.svg)
.svg)

How to Balance Radiators for Even Heat (Step-by-Step)
Cold bedrooms, noisy pipes and slow warm-up times? A simple radiator balance can make a big difference.
.jpg)
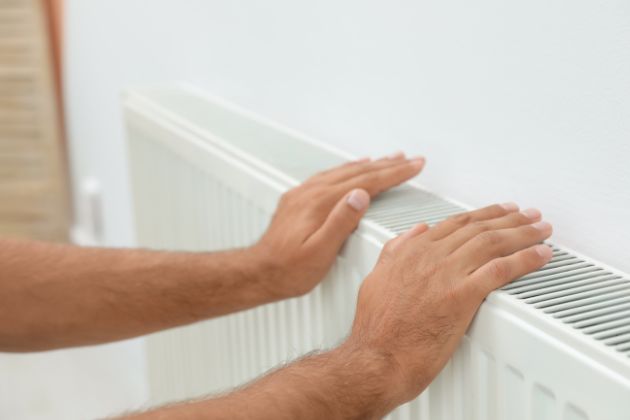
If some rooms in your home are roasting while others feel chilly, your radiators may need balancing. Radiator balancing ensures hot water flows evenly throughout your heating system, so every radiator heats up at a similar rate. This helps prevent cold spots upstairs, reduces noisy pipes, and cuts down on long warm-up times. By adjusting the valves correctly, you can enjoy consistent, comfortable heat in every room and improve your system’s efficiency, saving energy and reducing bills.
What radiator balancing actually does
Balancing is not the same as bleeding. Bleeding removes trapped air; balancing controls how much hot water each radiator receives.
The aim is to restrict flow slightly to radiators that get hot very quickly, so more heat reaches the ones that are slow or stay lukewarm, often upstairs or at the end of the pipe run.
When your radiators are properly balanced, you should notice fewer cold spots, less pipe noise and shorter warm-up times for the whole house.
Getting ready to balance your radiators
Set aside at least an hour, more if you have a large system. You will need patience, as you must let the system settle between adjustments.
Gather a few basic tools before you start:
- Radiator bleed key and small towel
- Adjustable spanner or lockshield key
- Digital thermometer or infrared thermometer (or careful touch as a last resort)
- Pen and paper or a simple spreadsheet to record valve settings
Check that your system has been bled recently. If some radiators are cold at the top, bleed them first, then allow the heating to run for a while before balancing.
Step-by-step guide to balancing radiators
Step 1: Turn the heating on and map the system
Turn your heating on from cold and set the room thermostat high so the boiler keeps running. Make sure all radiator valves are fully open.
Over the next 10 to 15 minutes, walk around and note the order in which radiators get hot. The ones that heat up first are closest to the boiler or have the least restriction; the slowest are usually furthest away.
Create a simple list in that order, from fastest to slowest. This will be the order you adjust them in later.
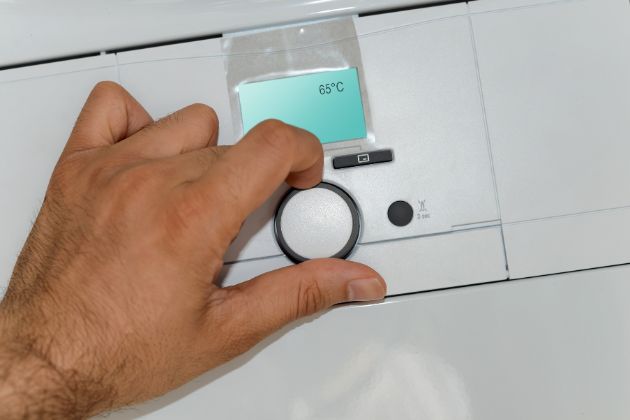
Step 2: Identify TRVs and lockshield valves
Each radiator typically has two valves: a control valve you use every day and a balancing valve.
The everyday control valve is often a TRV (thermostatic radiator valve) with numbers around the head, or a simple on/off handwheel. The lockshield valve usually has a plain plastic cap or metal shroud and may need a small spanner or lockshield key to turn.
Common mistake: Do not adjust the TRV during balancing. All TRVs should be fully open while you work. You only make balancing changes on the lockshield valves.
Step 3: Turn the heating off and reset lockshields
Turn the heating off and allow the system to cool so the radiators are safe to touch. This can take 30 to 60 minutes, depending on your system.
Once cool, go to each radiator and remove the cap from the lockshield valve. Close the valve by turning it clockwise until it stops, then reopen it by a set amount, such as one full turn.
Record the starting position for each radiator as you go. This will form the first part of your balancing table.
Step 4: Use a simple balancing table
It helps to keep track using a small table like this, which you can copy into a notebook or spreadsheet:
Balancing table template
Radiator name | Starting turns from closed | Final turns from closed | Temperature drop (flow to return) target: around 10–12 °C
Give each radiator a clear name, such as "Hall downstairs" or "Main bedroom", and fill in the starting turns from closed that you set in Step 3.
Step 5: Turn heating back on and take temperature readings
Turn the heating back on and open all TRVs fully. Let the system run until all radiators are warm again, usually 15 to 20 minutes.
For each radiator, you want to compare the temperature of the flow pipe (the hot water going in) with the return pipe (the cooler water going out). Ideally you are aiming for roughly a 10 to 12 °C drop across most radiators, which is a commonly recommended range for efficient operation in many domestic systems.
- With a digital or infrared thermometer, measure near the valves on both sides of each radiator
- If you do not have a thermometer, carefully use the back of your hand to compare relative warmth, taking care not to touch very hot pipes
Note down your readings or impressions in the table, even if they are approximate. You are looking for patterns rather than exact figures.
Step 6: Adjust lockshields gradually
Start with the radiator that heated up first. If the temperature drop is small (for example, hardly any difference between flow and return), gently close the lockshield a quarter turn clockwise to restrict flow slightly.
On radiators that are slow to heat or have a very large temperature drop, you may be able to open the lockshield a quarter turn anticlockwise. Do not fully open or close anything in one go.
After making a few small adjustments, wait 10 to 15 minutes for the system to stabilise before checking again. Patience here is essential, as changes near the boiler can affect everything else.
Update your table with the new "final turns" from closed as you go so you always know how far each valve has been moved.
Common problems during radiator balancing
It is easy to over-adjust when you are trying to get every radiator exactly the same. A small difference in temperature drop is normal and not worth chasing endlessly.
Other frequent issues include confusing the TRV and lockshield, leaving some TRVs half closed during balancing, or not waiting long enough between tweaks so you misread the effect of each change.
If a radiator stays stubbornly cool even when its lockshield is fully open and others are restricted, there may be a deeper fault that balancing alone cannot solve.
When balancing will not solve the issue
Balancing improves how heat is shared, but it cannot fix underlying mechanical or sludge problems. If you notice very patchy heat, gurgling, or radiators that are hot at the top but cold at the bottom, you could have a build-up of sludge or a stuck valve.
Other signs include a noisy or struggling pump, frequent boiler lockouts, or radiators that only ever get lukewarm even when everything is fully open. In these cases the system may need professional diagnostics, valve repairs or a power flush rather than just adjustment.
It can also be worth having your central heating system checked or arranging boiler repairs if the boiler is short-cycling or displaying fault codes while you are trying to balance.
Next steps and when to call a professional
A careful DIY balance can noticeably improve comfort, especially in homes where bedrooms are colder than living spaces, or the system has been altered over time. Take it slowly, make small changes and keep good notes in your balancing table.
If you are not confident working on valves, or you have followed the steps and still have uneven heat, noisy pipes or radiators that refuse to warm through, it is sensible to get expert help. The heating , or radiators that refuse to warm through, itis bestengineers at Heat Excel Limited can assess your system, carry out precise balancing and advise on any deeper issues, such as sludge or pump performance.
To arrange a central heating inspection or discuss ongoing radiator problems, contact Heat Excel Limited on 01934784046.